Tutorial
FIDO U2F Google Tutorial
Step1
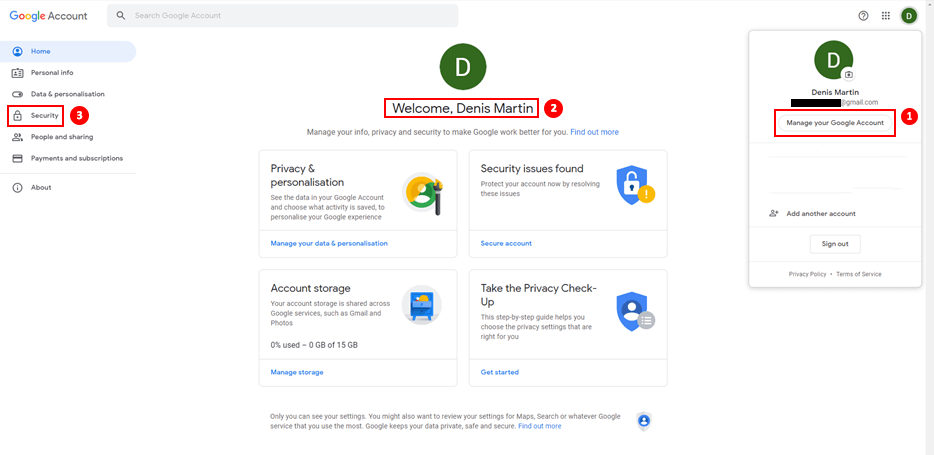
Login to your Gmail account, then click on “Manage your Google account” in the top right of your screen.
Step 2
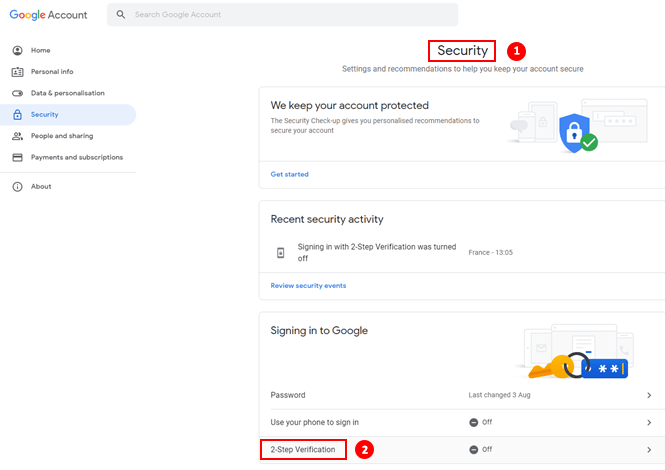
On the "Welcome" page click on the "Security" tab. Then under "Sign in to Google" select "Two-step verification".
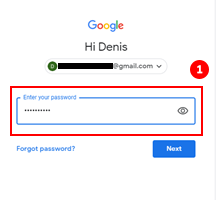
Step 3
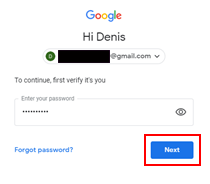
Continue by clicking on "Start". Then you will need to authenticate with your Google account password. When you have done this click on "Next".

Step 4
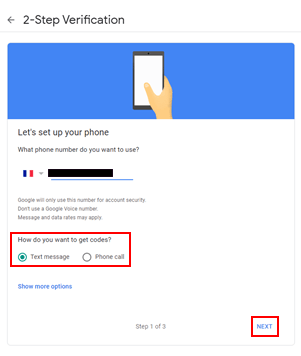
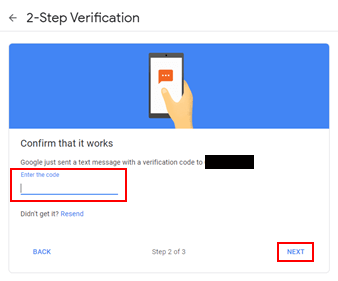
You will be asked for a backup option with the choice of SMS or phone call. In the case of our tutorial, we will choose the SMS method. Once your telephone number has been entered, the “SMS” option checked, click on “Next”. Enter the code received by SMS then click on "Next".
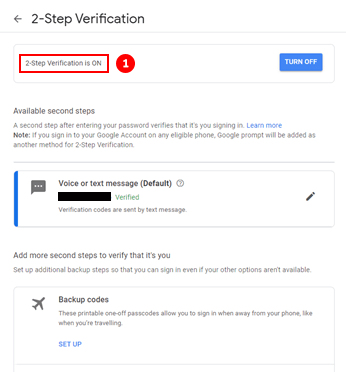
The two-factor authentication setup for your Google account is complete. Click on "Activate" to start the activation of two-factor authentication.

Step 5
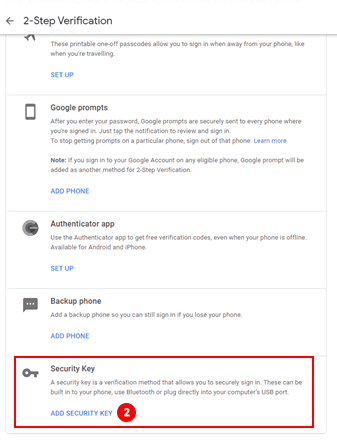
You now need to add the Winkeo FIDO U2F security key as a second authentication step. Scroll down to the “Security Key” section and click “Add Security Key”.
Step 6
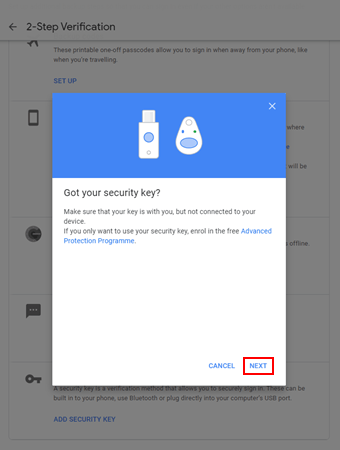
Then click on “USB or Bluetooth” as the choice of security key and finally on “Next”. Then insert your key

Step 7
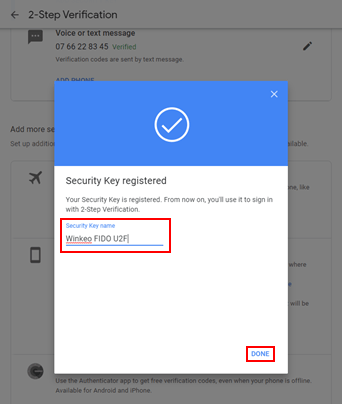
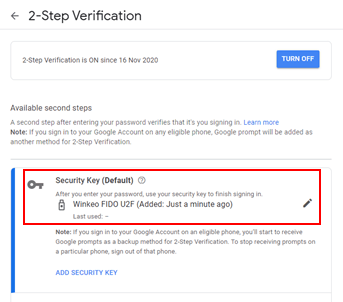
Press the button with which the Winkeo FIDO U2F key is equipped. Your security key is now saved and will be used to log in with two-step verification. Name your security key and press “OK”. Two-step verification is enabled and your security key is registered.
Future Connections
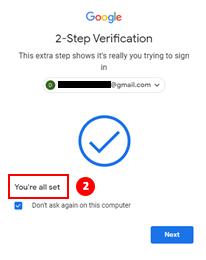
For any future connection to your Gmail account, you will now have to enter your password then insert the Winkeo FIDO U2F security key and press the button to authenticate yourself.
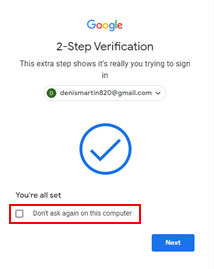
If you don't want to use your security key every time you sign in to your Google Account, check the "Don't ask me again on this computer" box. This is to indicate that your computer is reliable. However, this possibility is to be chosen only on the devices that you use regularly and that you do not share with anyone else. Otherwise, uncheck the box.